The following tutorial explains how to add content portlets into Chameleon Theme on a Plone 3 website. See instructions for other Plone versions in Adding content portlets in Plone 4 and Managing diazo Chameleon theme context portlets in Plone 4.1 tutorials.
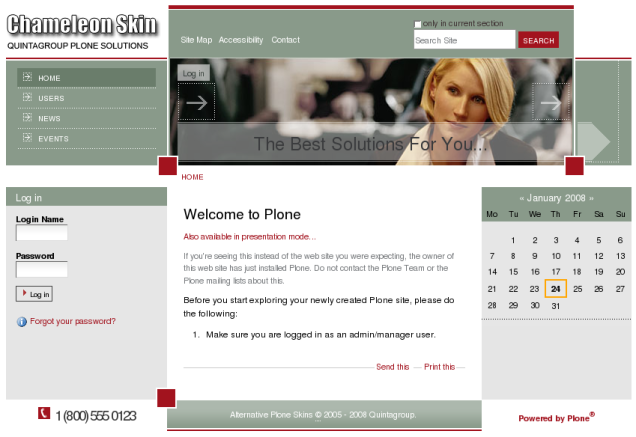
Chameleon Skin main area looks the following way with two columns of portlets and content area between them:
But Chameleon Skin pages can also have content portlets displayed over the content area:
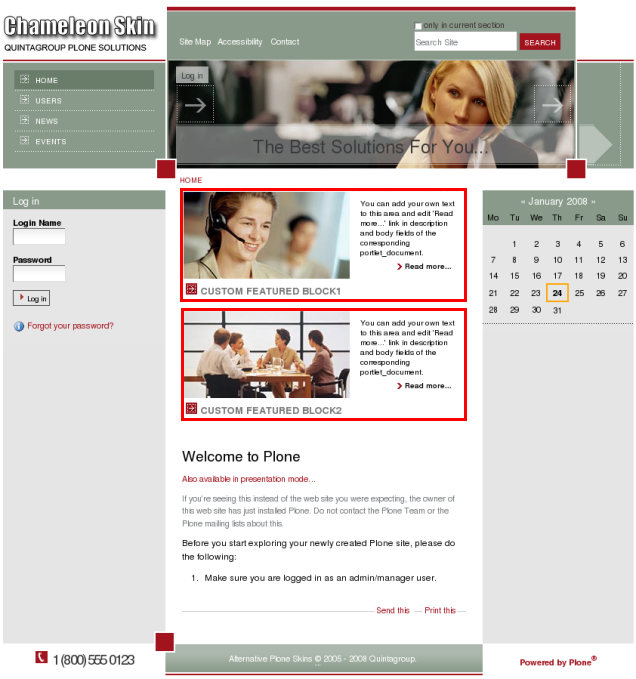
To display content portlets over the content area, choose View Document With Portlets view for a document:

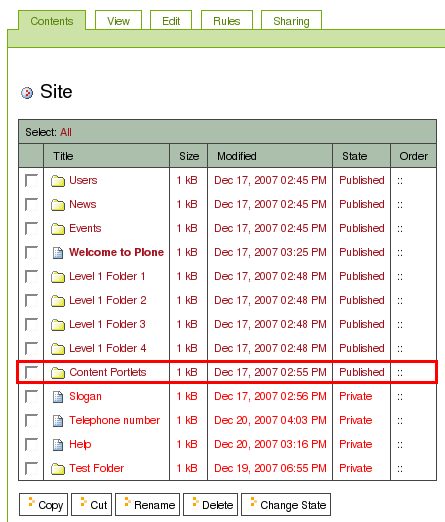
The number of these portlets is not limited, and they display the same content all over the site. There is a Content Portlets (/content-portlets) folder in the root of the site:
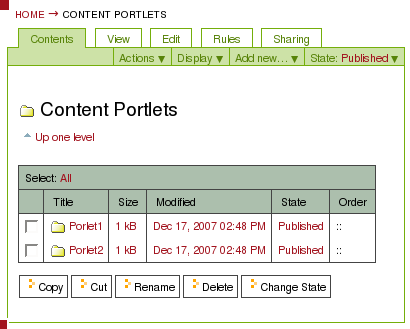
It contains as many subfolders as many portlets are displayed over the content area, i.e. the number of portlets is predefined by the number of subfolders that are in the /content-portlets folder:
All subfolders contain a page with portlet_document shortname and portlet_img image:
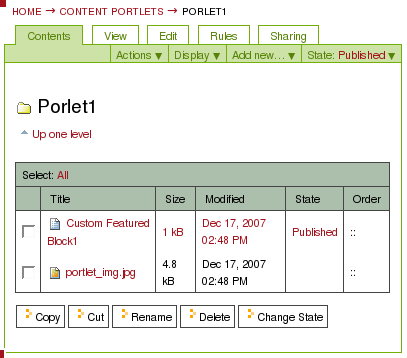
A portlet displays the corresponding /portlet_document's title, description, body text and /portlet_img image.
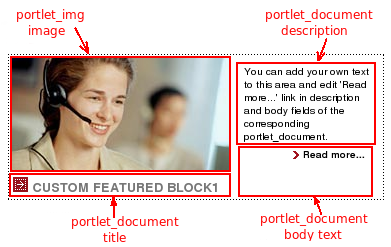
To change information on the portlet edit the corresponding document. If needed you can add / remove portlets by adding / removing folders from content-portlets folder.
How to set different content portlets for different site sections
You can have different content portlets in different site sections. For this you have to create Content Portlets (id content-portlets) folder in the section, where new portlets will be included. Create as many subfolders (e.g. portlet1, portlet2) as many portlets you want to be displayed over the content area in this section. Then fill each of these subfolders with portlet_document page and portlet_img image.
Finally, to display content portlets over the content area, choose View Document With Portlets view for this section.
