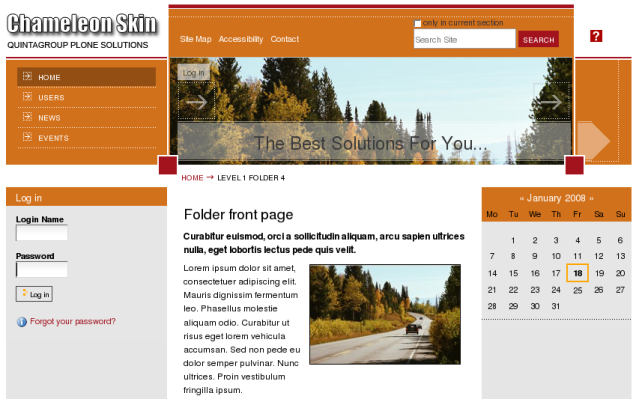
The following tutorial covers changing of Chameleon Theme top image on a Plone 3 website. See more instructions for different Plone versions in Replace Chameleon Theme top image in Plone 4 and Replace Chameleon diazo Theme Top Image tutorials.
- How to change top default image
- Can image hight be changed?
- How to set different top images for different folders?
- Examples, included into the Chameleon skin
1. How to change top default image
To change the top default skin image add an image with top-image.jpg shortname into the root of the site. Select Image from Add new... drop down menu:

Give a title to the image top-image.jpg, and upload the image:
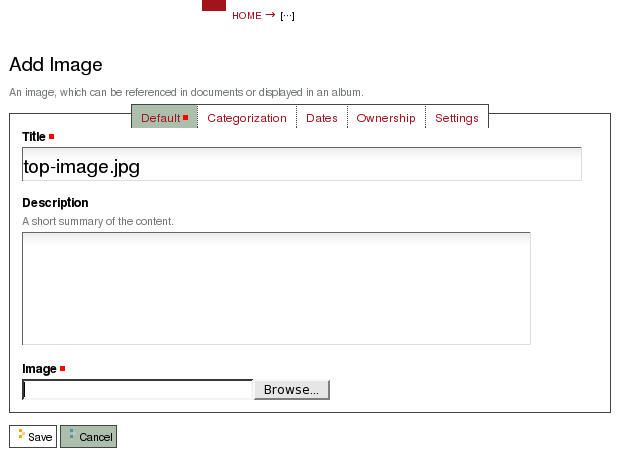
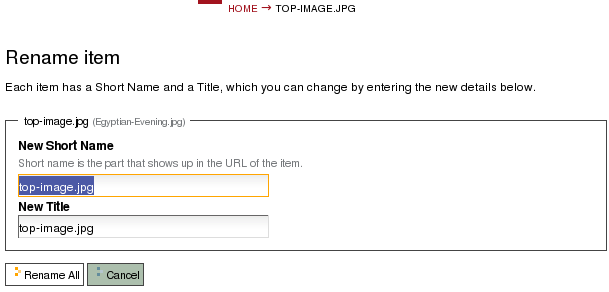
Save it. Make sure image shortname is top-image.jpg. If not, select Rename from actions drop down menu:

and change the shortname to top-image.jpg.
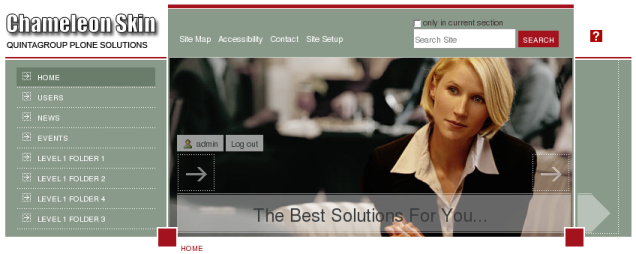
Now when you have this image renamed you will see it instead of the default one on the top area:

Now this image became a default one and will be displayed all over the site unless a folder has its own image.
2. Can image hight be changed?
Image hight is automatically set, depending on the number of tabs in the global navigation. For example, when we have initial skin look, it has 4 tabs displayed by default:

And when we add 4 more tabs into navigation, image becomes higher:
3. How to set different top images for different folders?
Every folder can have its own image displayed on the top area. For that, add an image with top-image.jpg shortname into it, and this image will be displayed instead of the default one only in the current folder.
4. Examples, included into the Chameleon skin
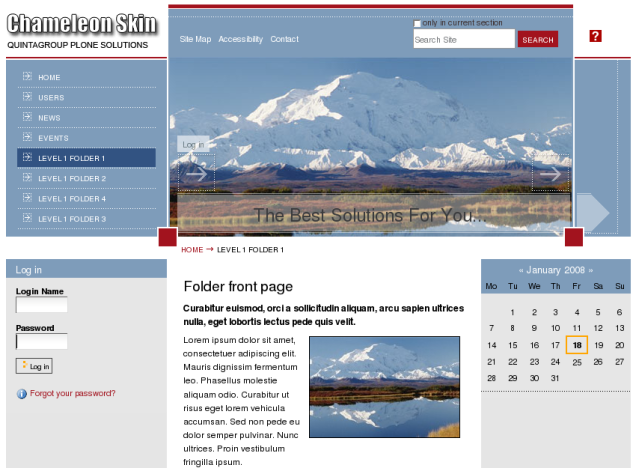
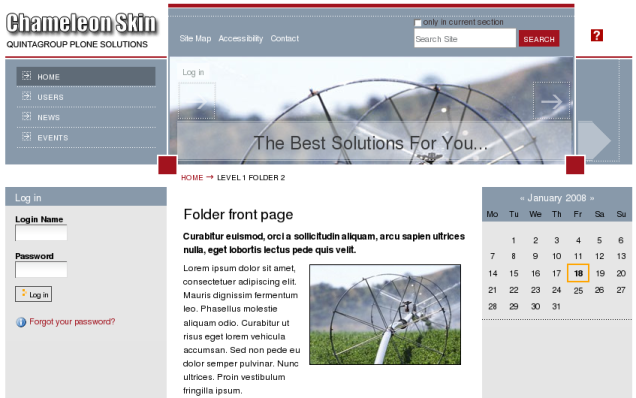
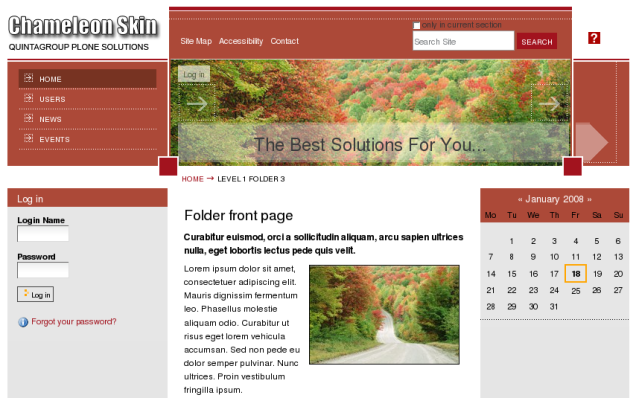
You can find the examples of different folder looks (with different basic colors and top images) in the folders, that are included into the Chameleon Plone Theme:
- Level1Folder1
- Level1Folder2
- Level1Folder3
- Level1Folder4
