The following tutorial covers changing of Chameleon Theme logo on a Plone 3 website. See instruction for completing it on other Plone version at How to replace diazo Chameleon theme logo and How to replace Chameleon Theme logo in Plone 4.
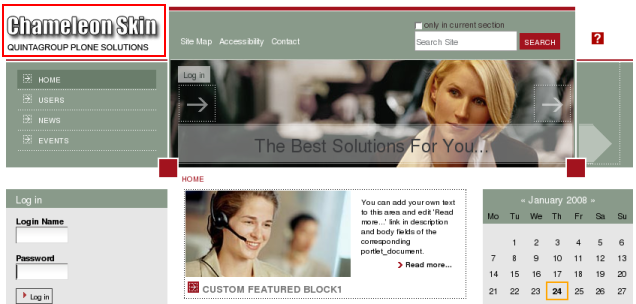
Company logo of Chameleon Plone Skin is displayed at the left top left area. Its width is 207px, and hight - 50px.

It is possible to insert a logo of different dimensions into Chameleon PloneTheme, but logo's hight can not be less than 50 px. In case your logo width is different from default logo width, the place for its location will move pro rata. In case your logo hight is different from the default logo hight, all the top are with image and navigation will move pro rata.
You can replace this Chameleon Skin logo with yours in two ways: through ZMI and through file system.
1. Zope Management Interface
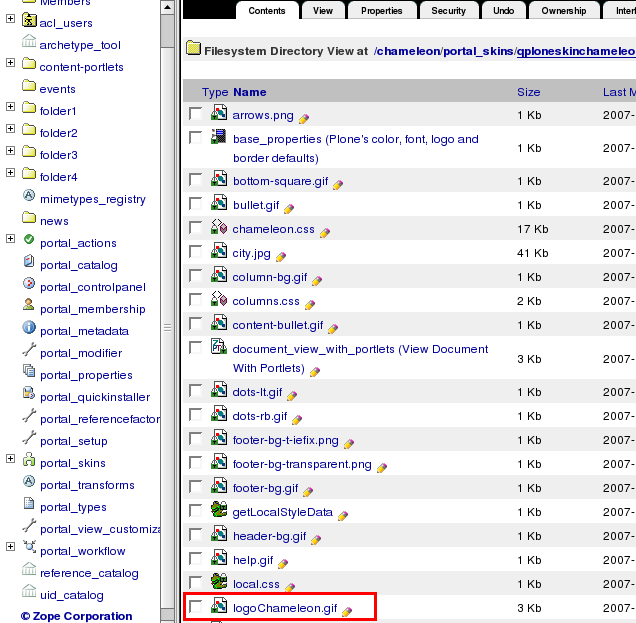
Go to ZMI and select portal_skins -> qploneskinchameleon. It contains logoChameleon.gif image:

This is a default Chameleon Plone Skin logo image. To set your own logo press Customize button:

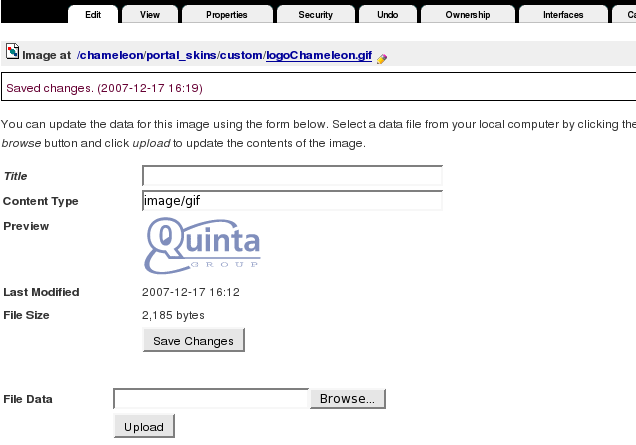
Press Browse button to select the your own logo. Click on Upload:

Now you see your new logoChameleon.gif image, and it is automatically put into custom folder:

Now when you return to Plone interface, you'll see new logo image (Quintagroup logo). The new logo dimensions are different from the default logo, so the place for its location has moved according to logo size.

For the subsequent logo replacements go directly to ZMI portal_skins/custom/logoChameleon.gif and upload new logo image here.
2. File System
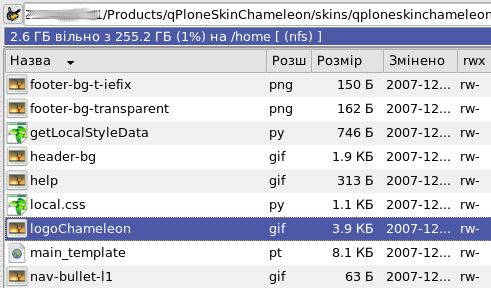
qploneskinchameleon folder has logoChameleon.gif image:

Replace this image with your own company logo. Remember that new logo title should be logoChameleon.gif as well. Now restart server so that changes are applied. Now when you get back to Plone interface you will see your new logo at the blue top left area of the site.
