The following tutorial covers changing of Business4 Theme top images on a Plone 4 website. Instruction for changing them in Plone 3 - see in How to replace Business4 Theme top image in Plone 3 tutorial.
Top are of Business4 Theme consists of 3 images: top-left image, top-right image and a logo image. In this chapter we will talk about the first two images customization. Default front page images are displayed on all site pages unless other images are uploaded for a folder.

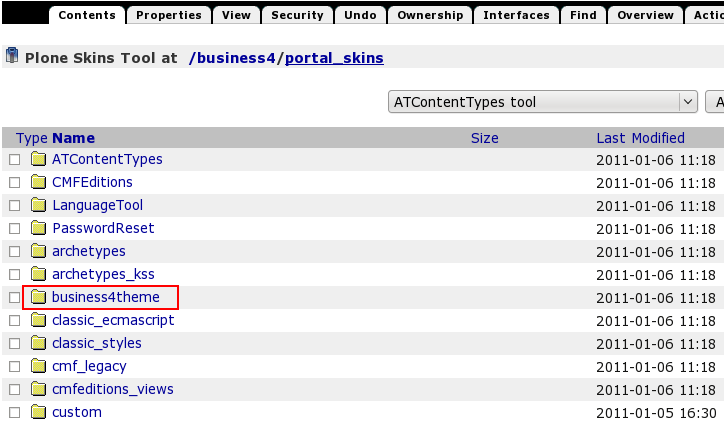
Let's see how to replace default top-left and top-right images with new ones. Go to Zope Management Interface, select portal_skins -> business4theme.

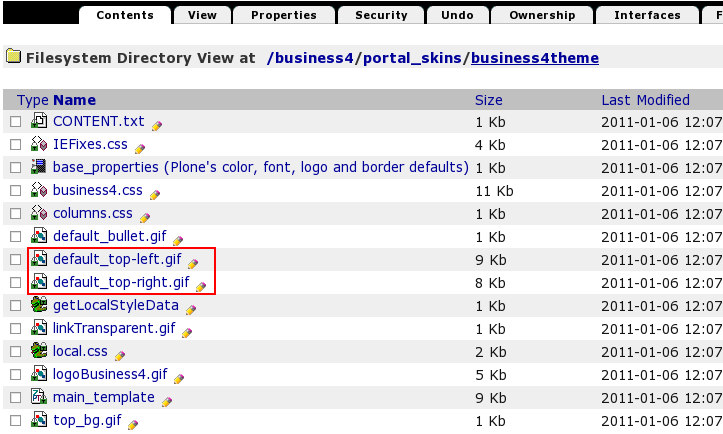
Open default_top-left.gif image for replacing top left image (or default_top-right.gif image if you want to update top right image):

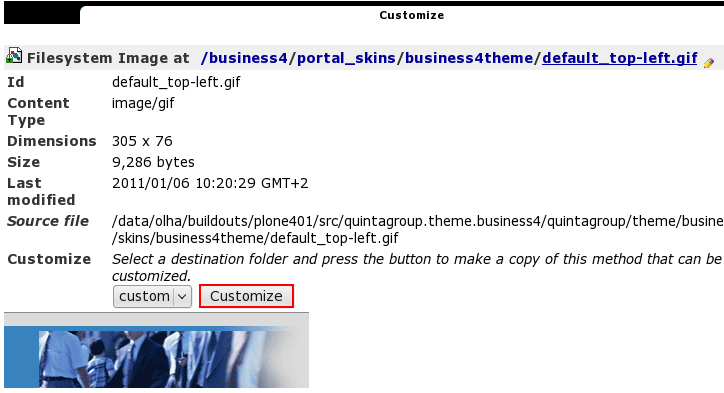
This is the default theme image, select it to see the whole information about it, including its Id, dimension, size, modification date. Press Customize to set a new image as a default one:

Browse your file system for a new image and upload it.

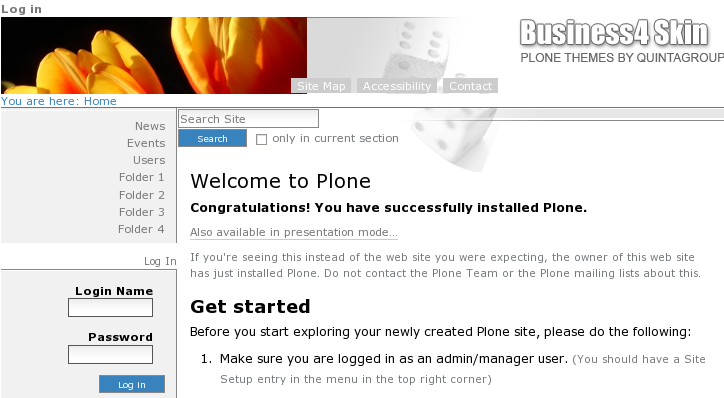
Now when you return to Plone interface, you'll see image, you've just uploaded on the top area:

In the same way you can update top right image:

Restrictions
Top left Image size is limited to 77px height. If your image is higher it will not be displayed completely. Image width is not limited, image acts like a background, i.e. it will be hidden behind site actions tabs. The following screenshot displays how a bigger left image will be displayed.

