The following tutorial covers customization of Brio diazo Theme top portlets on a Plone 4.1-4.3.
Brio Plone Theme top area is divided into 3 parts: left part includes logo, central and right parts are reserved for portlets. First install quintagroup.brio.policy extension and activate it via Site Setup -> Add-ons.
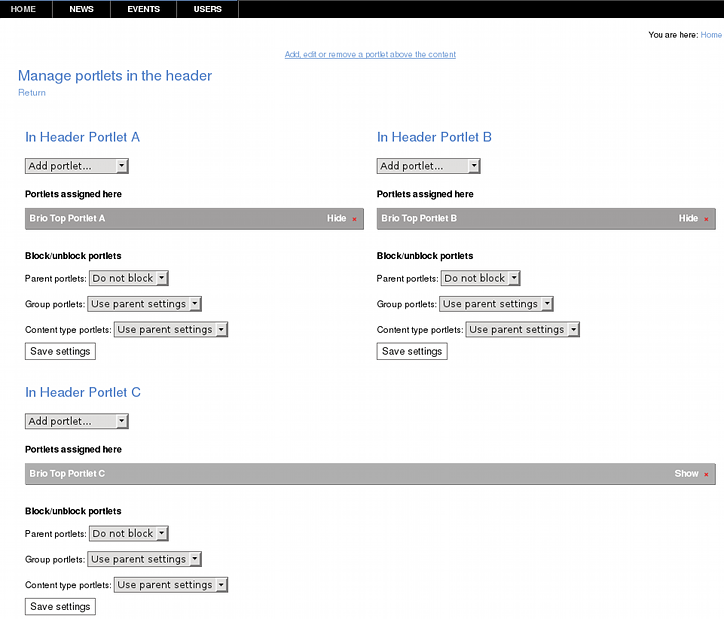
To manage top portlets - follow Add, edit or remove a portlet in the header area... link that appears in the right bottom corner of the top area when cursor reaches top area.

One or two top portlets?
You will see 3 portlet columns: In Header Portlet A, In Header Portlet B, and In Header Portlet C. You can hide existing portlets from display or remove them and add new types of portlet into these columns.

Portlets, assigned into columns A and B - are displayed in the corresponding central (column A) and right (column B) parts of the top area. Standard Plone portlets, assigned to these columns, will get the following background images.

If you assign portlet into column C (prerequisite: no portlets in columns A and B) - then this portlet will be displayed throughout both central and right parts of the top area. Standard Plone portlets, assigned to this column, will get the following background image.

So, depending on how you want your Brio Theme to look - select the appropriate variant.
Top Brio theme portlets behaviour is the same as default Plone portlets. So, different top portlets can be assigned for different site sections via block/unblock portlet mechanism.
Use Cases
You can add all Plone portlet types to the top area. Let's discuss the most interesting use cases. Learn how to create:
- Image portlet
- Text portlet on custom background image
- Carousel portlet with images
- Carousel portlet with newsitems
