The following Plone Tutorial applies to Plone 3. For Flow theme customizations in Plone 4 - see Flow Plone Theme customization in Plone 4 tutorial. This Plone tutorial consists of several parts, in which you will find explanations about how to customize Flow Plone Skin to your needs. Use the navigation on the right to navigate through all tutorial sections.
Imagine we have a new Plone 3 site with Quintagroup's Flow Plone Skin installed. Front page will approximately look the following way, where:

- Default company logo that may be replaced with yours
- Top-left static area on the entry page, reserved for a custom content
- Random image
All the changes in Flow Plone Skin can be done in two ways: via Zope Management Interface and via File System.
1. Zope Management Interface (ZMI)
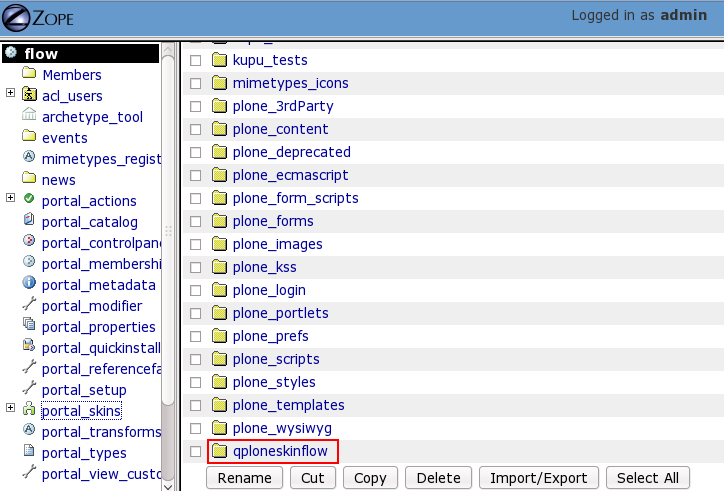
Go to ZMI (by adding /manage to site URL) -> portal_skins. Find qploneskinflow folder among its items - this is the folder where all the following changes will take place:

2. File System
To get to File System in Windows use WinSCP program, in Linux - with Krusader program. Login to your Quintagroup Plone Hosting account. (In case you do not know how to connect to your account, follow description from Plone Products Installation in Linux and How To Install Plone Products (in Windows) up to the moment you get to Products folder.
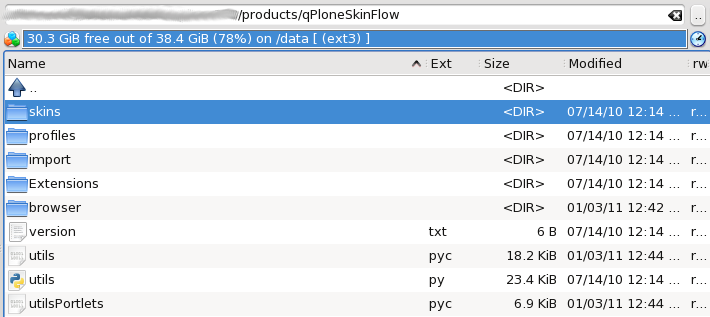
Find qPloneSkinFlow folder among other Plone Products:

Select skins folder:

It consists of qploneskinflow folder:

This is a folder where all the following changes will take place.
