This tutorial covers customization of Flow Plone Theme on a Plone 4 website. For customizations on Plone 3 - see Flow Plone Theme customization in Plone 3 tutorial. This Plone tutorial consists of several parts, in which you will find explanations about how to customize Flow Plone Skin to your needs. Use the navigation on the right to navigate through all tutorial sections.
Flow Plone Theme installed on Plone 4 will have the following look. It has replaceable theme logo and top image area that can include carousel of rotating banners.

Inner page of Flow Plone Theme has smaller customizable top image area.

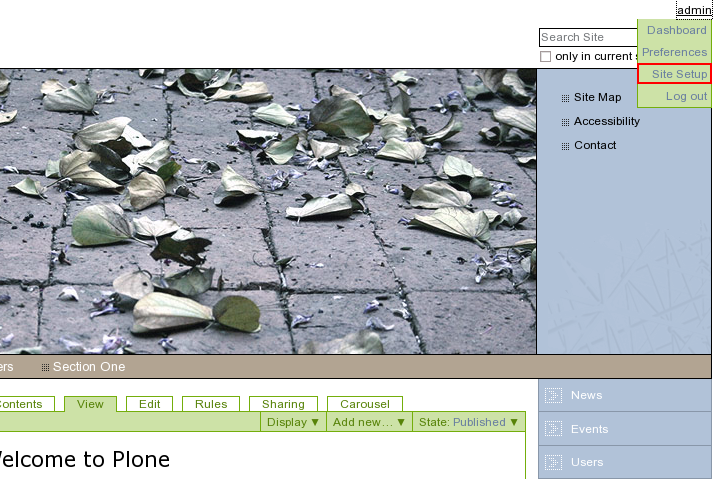
You can customize Flow Plone Theme to meet your needs. All the changes to this Theme can be done via Zope Management Interface. To access it - first login into the site as administrator, then open your user menu and select Site Setup:
Navigate to Zope Management Interface:

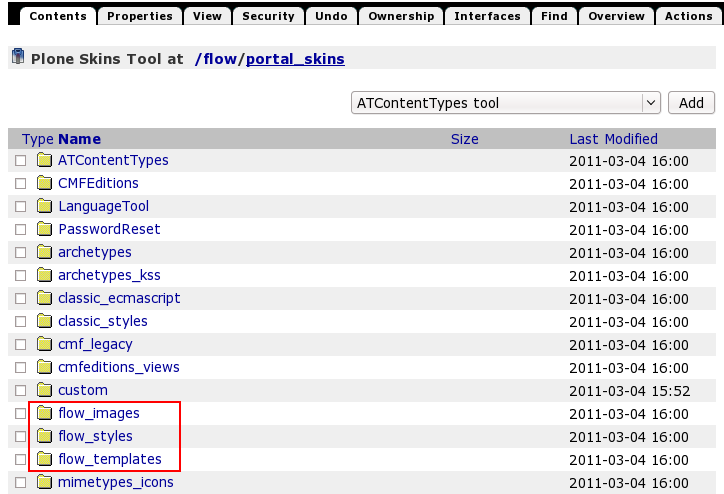
Open portal_skins catalogue:

You will see 3 folders that come with BrendA theme: flow_images, flow_styles, and flow_templates. These are folders that include all necessary files for theme customization.