Read the following tutorial and learn how you can customize panels for website with the Domino Plone theme.
This theme encourages usage of panels that allow more customization options.
First you need to install the following Plone products:
Then go to Site Setup -> Add-ons and activate them.
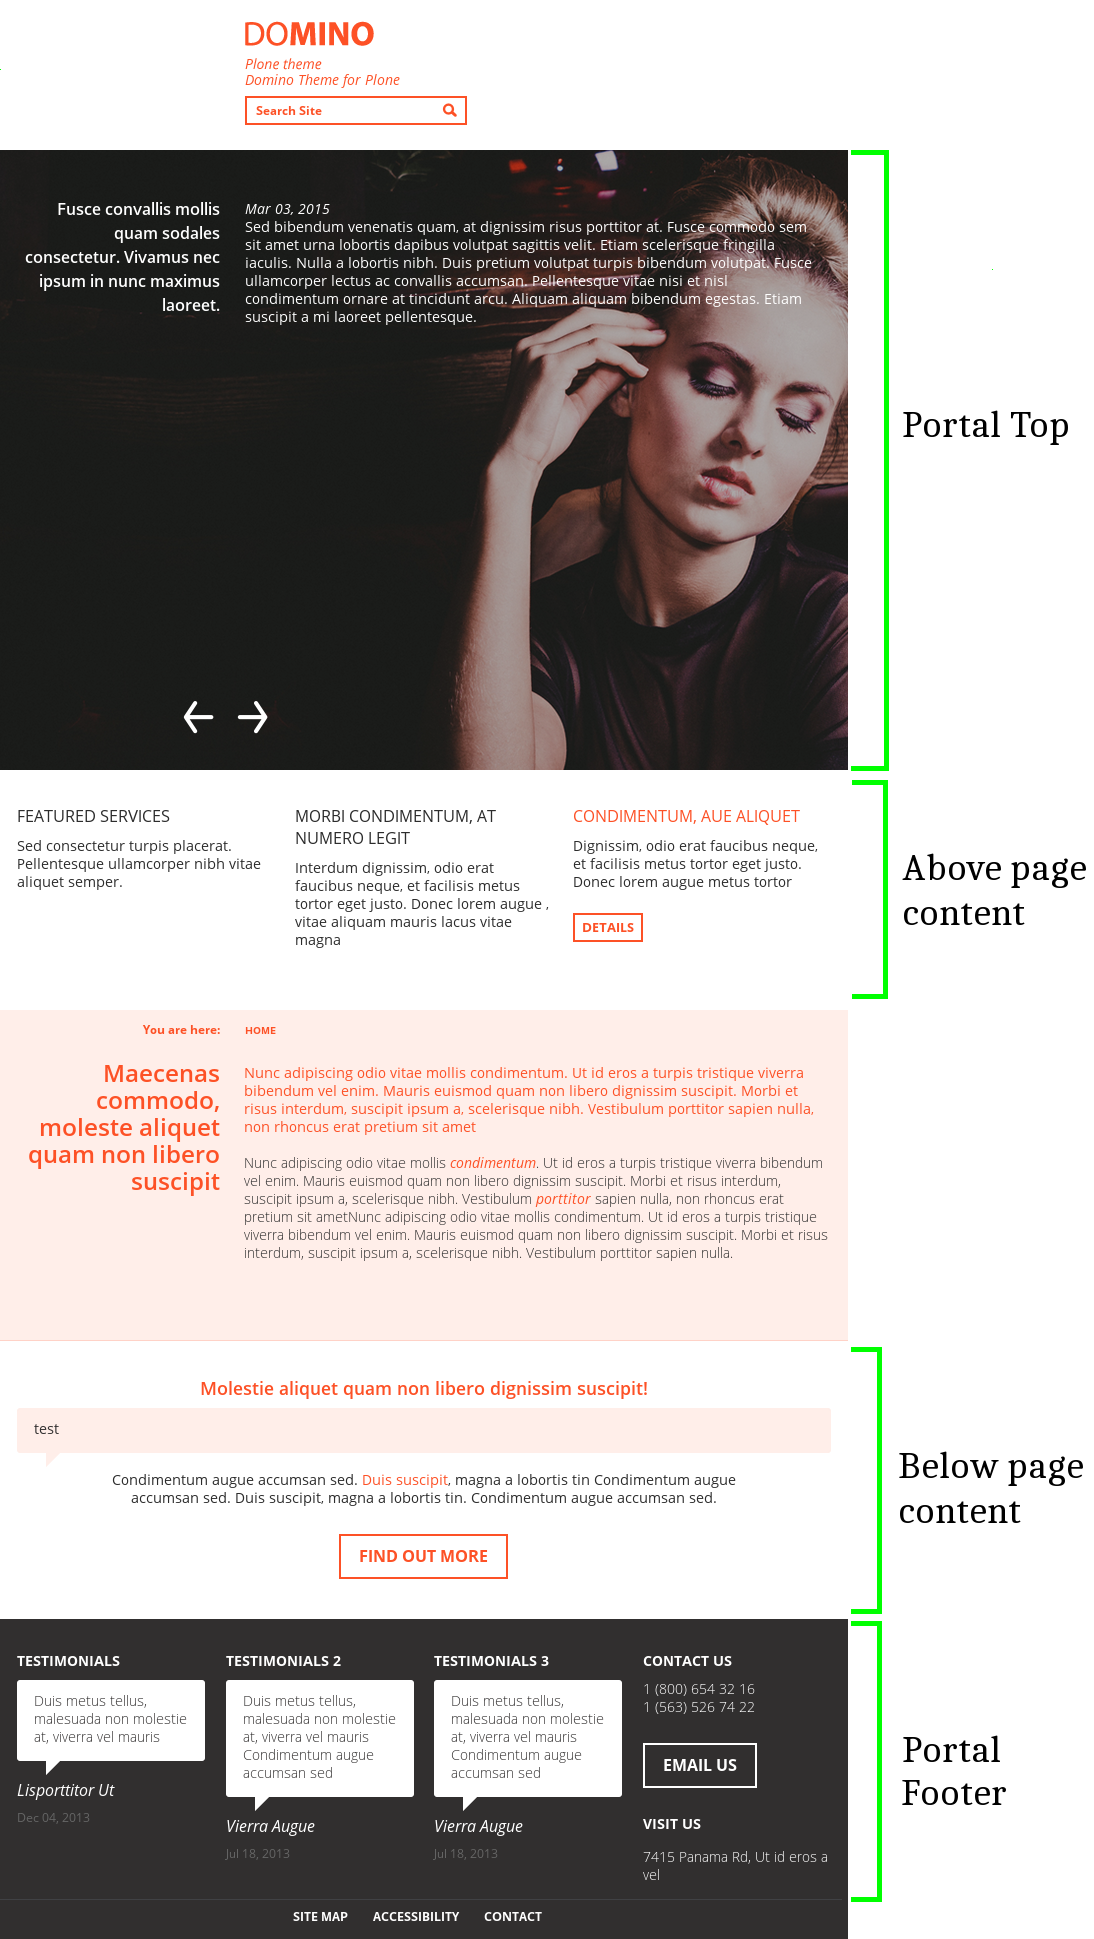
There are four available panel locations: above and below page contents, portal top and footer. The panel placed in the footer always has black background. All others have white background.

To add new panel click the "Manage panels" link appearing in the footer (it links to @@manage-panels) — similar to Plone's column portlets. To create a new panel, there's a collapsible form appearing just below the page title ("Add panel"). Choose a location and select a layout. Then add portlets from the “Add portlet...” dropdown.
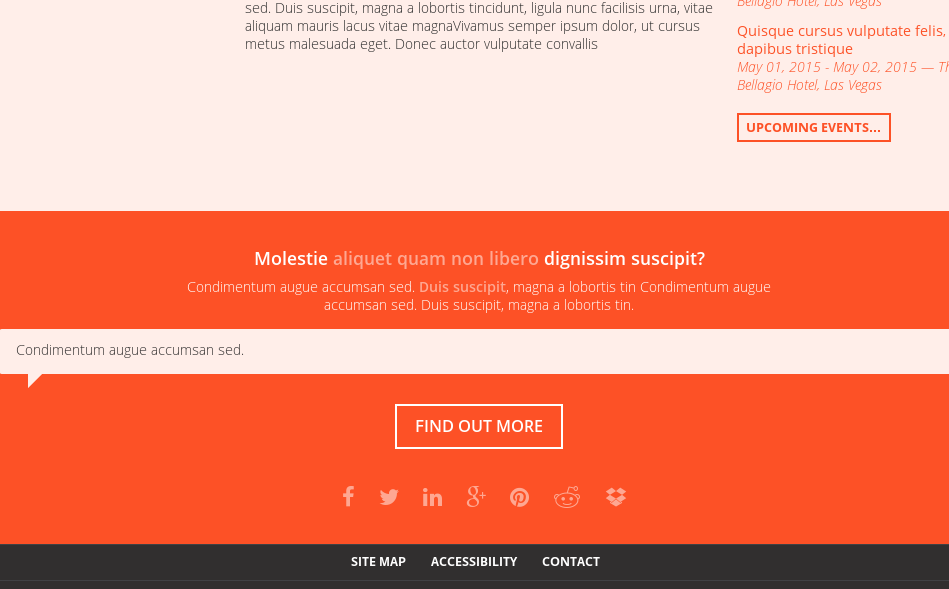
Panel with main color background
To have panel with main color background ("color_first" in theme settings, e.g. blue for blue color scheme and orange for orange color scheme) you will need to use Static Stylish portlet.

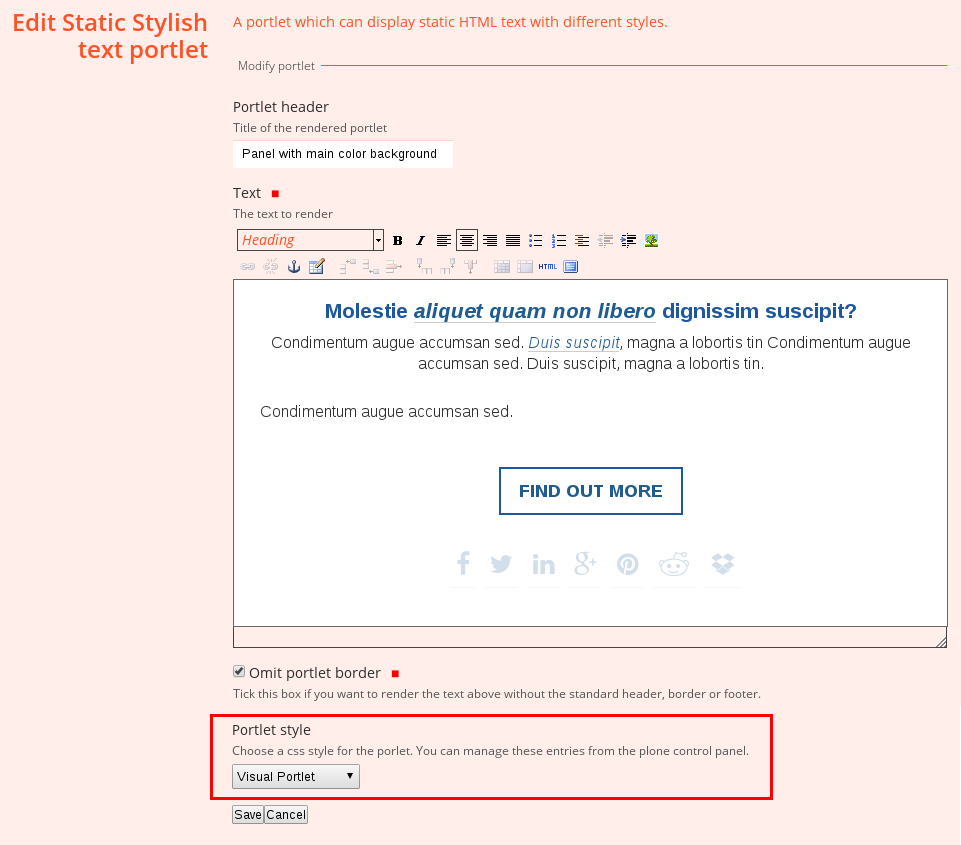
Create a new panel and choose Static Stylish portlet from the “Add portlet...” dropdown. After adding necessary content choose “Visual Portlet” option from the “Portlet style” dropdown.

Left column portlets
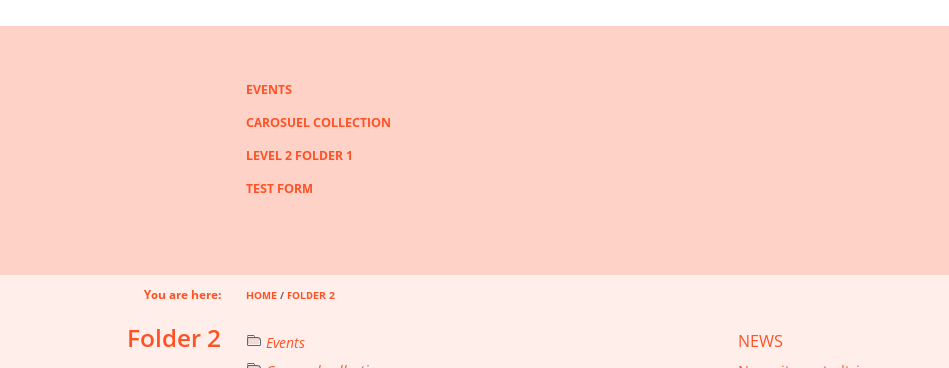
Left column portlets feature changes in this theme. They are displayed not on the left, but above the page content. You can add only 1, 2, or 3 portlets in one row.

If you decide to add portlets in left column, remember that they have different background color than panels. Depending on the color scheme it is light blue, light orange, or light grey. You can change the color going to Site Setup > Theming > Advanced settings > Parameter expressions. “color_third” parameter indicates the background color used for left portlets.
