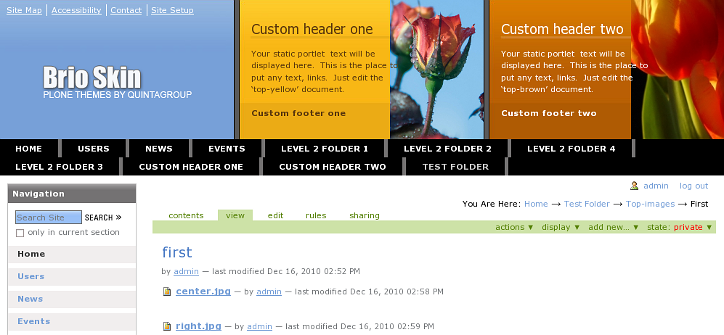
The following tutorial covers changing of Brio Theme top portlets rotating images on a Plone 3 website. Instruction for changing them in Plone 4 - see in How to replace Brio Theme top portlets background images in Plone 4 tutorial.
Front page of Plone 3 site with Quintagroup Brio Plone Theme installed will approximately look the following way with three portlets (of 330x193px size) on the top area. Two static portlets at the top area (yellow and brown) are reserved for a custom content and custom images. Their content can be different for different folders. Images on all pages rotate randomly with every page refresh. There are three sets of images predefined for random rotation at the top area.
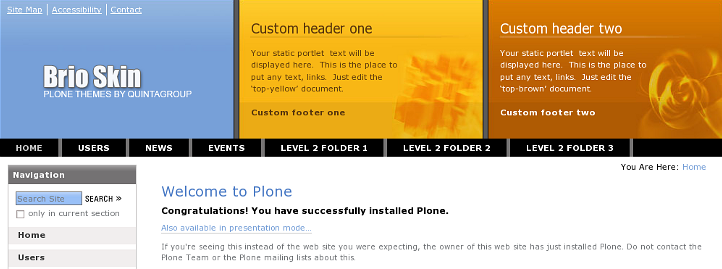
There are two ways of editing these images: via Zope Management Interface (ZMI) and via File System.
1. Zope Management Interface
To reach those images - go to ZMI interface and select portal_skins -> qBrio.
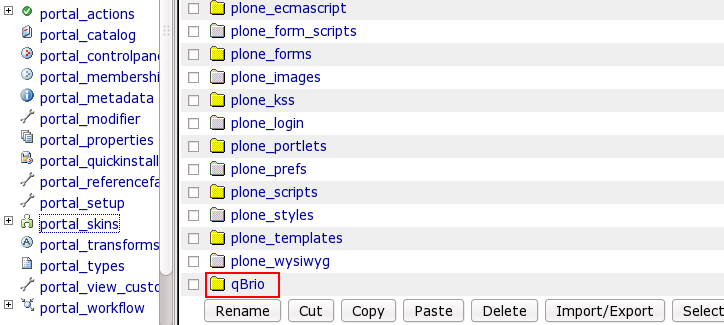
There will be top-images folder in the list of qBrio content items. top-images folder consists of 3 subfolders - first, second, third each containing 2 images - center.jpg and right.jpg - these are 3 sets of images predefined for random rotation at the top area.

Let's select second, for example, and we'll see 2 images there - those, that are displayed in the central and right portlet:

You can select any image to see the whole information about it, including its Id, dimension, size, modification date:

In case you want to set your own images to be displayed in this skin, you should return two levels up to portal_skins. Select custom folder.

There are currently no items in it. As we want to add some images to the front page rotation, we, at first, should add a folder top-images. For this select Folder from drop-down menu items:

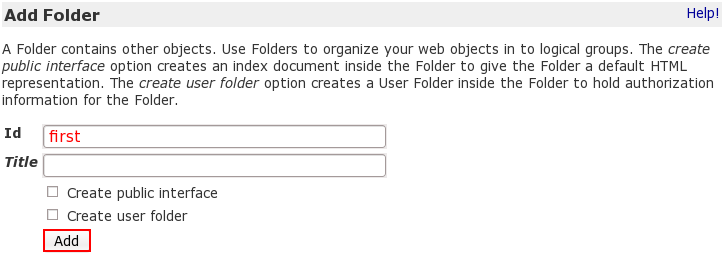
Type new folder's Id - it must be the same folder Id that are in qBrio folder: top-images. Later, we'll add first, second, third subfolders into it.
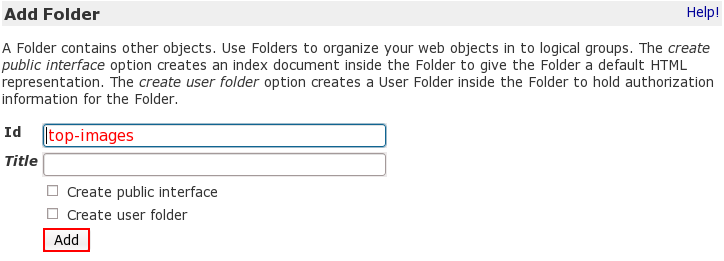
In the same way add first folder to top-images folder - press Add button.
Now we have first folder in custom/top-images. Click on it to get to its content:

There are no items yet, as it has just been created. Here we can put a pair of images we want to see on the front page in the central and right portlets.
To add images to this folder select Image from drop-down menu:

Give Id to the image. It should be center.jpg or right.jpg. Let's at first add center.jpg image for displaying on the central portlet. Then press Browse button to find the image you are want to upload here. After that click on Add button:

Now we have one image in first folder, i.e. as this is the only image in this folder, only it will be displayed on the front page.

Now when you return to Plone interface, you'll see image, you've just uploaded on the central portlet. As we have not uploaded any right.jpg image yet, right portlet area is empty, just brown background is displayed:
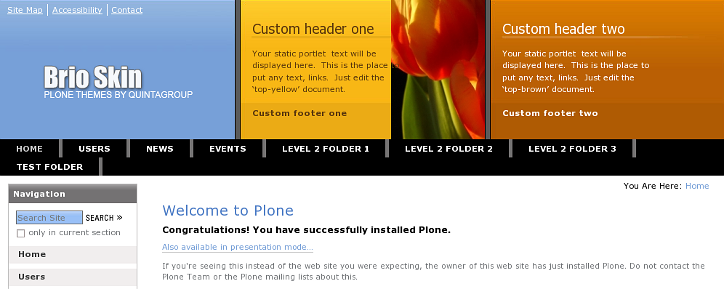
To set images for the right portlet - add image right.jpg to the first folder.
Remember about image dimension - images should be not higher than 193 pixels to fit the background correctly. If you select images of background dimension or more, they will suit the whole portlet size, making the text on the portlet difficult to read (in such cases it would be advisable not display portlet text at all):

If you select smaller image - it will cover only part of the portlet:

So, try to upload images of the right size, so that not to break Brio skin view. As we have added only one image so far, it will always be displayed in the portlet. In case you need several sets of images to rotate - add second, third folders to custom/top-images folder. Remember that images id should be either center.jpg or right.jpg.
2. File System
In Windows this task can be carried out with the help of WinSCP program, in Linux - with Krusader program. Login to your Quintagroup Plone Hosting account. (In case you do not know how to connect to your account, follow description from Plone Products Installation in Linux and How To Install Plone Products (in Windows) up to the moment you get to Products folder.
qBrio folder includes a top-images subfolder:

that contains first, second, and third folders, each one including 3 sets of images for rotation on the top portlets of the site.

Select any of it and you will see 2 images there - center.jpg and right.jpg - that are displayed on the top portlets.

In case you want to set your own images to be displayed in this skin, replace images from first, second, third folders with your own, but new image titles should be center.jpg and right.jpg. for central and right portlet respectively. After you have copied the necessary images into first, second, third folders, restart server so that changes are applied. Now when you get back to Plone interface you will see your new images.
How to set different images for different folders
Brio skin allows to set different top portlet images for different folders. If you want to set a specific pair of images for a certain folder, they will be displayed only when you are inside this folder. The rest site will have the same images that are on the front page.
So that a folder has its own images, you have to add top-images folder into it, that will include first, second, third subfolders, each of them containing center.jpg and right.jpg images.
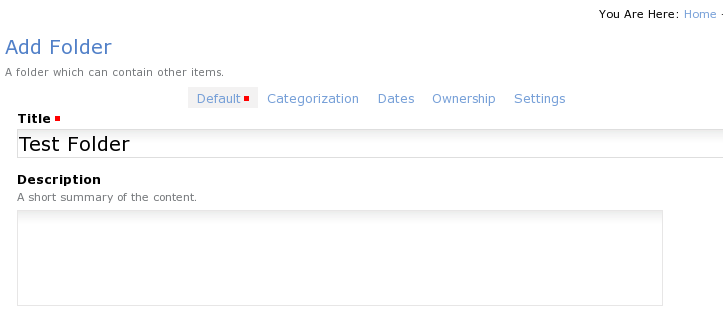
First of all, let's create folder for which we will set custom images, e.g Test Folder:
Now top portlet images are the same as they were initially. It's time to add /top-images subfolder into it (add /top-images folder via ZMI, because Plone may give you 'top-images shortame is reserved' error). Getting back to the Plone interface you will notice that top portlet images disappeared:
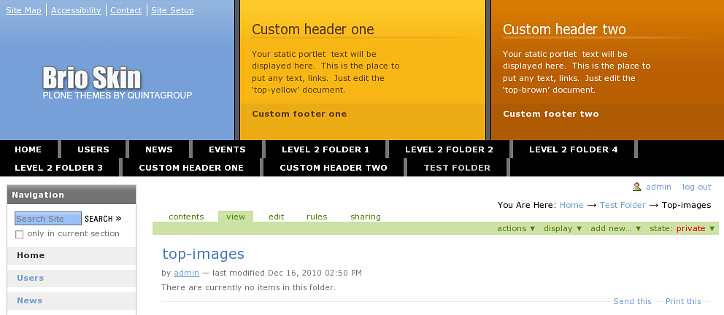
Add first folder into top-images, and add two images into it titled center.jpg and right.jpg to be displayed on the top portlets. Make sure shortnames are correct, if not - use actions -> rename action to make them correct.
That's it! You have new images set for Test Folder. In case you want to add more images to rotate in this folder, add second, third subfolders into top-images folder (.../test-folder/top-images) that will contain right.jpg and center.jpg images.
