Installation of Plone packages, distributed as .tgz or .egg files, on Plone 4 and buildout-based Zope instances for Plone 3 in Windows.
Step 1. Zope Installation
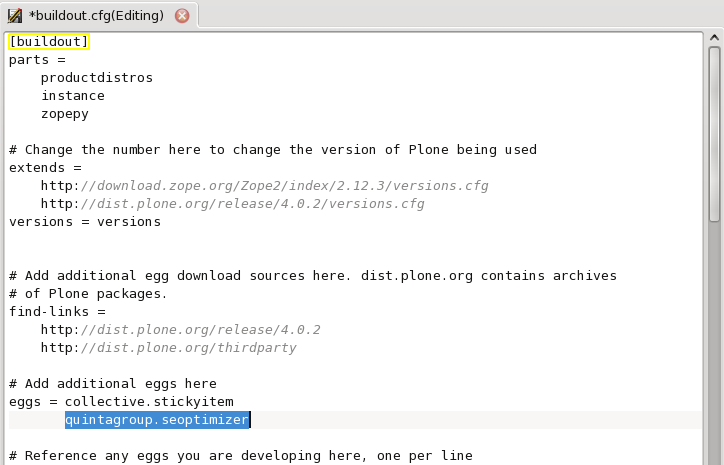
Before you start Zope Installation you have to get access to the filesystem of your Zope Instance. If you are using buildout-based instance to manage your project - open buildout.cfg file in the root of your instance and aAdd quintagroup.seoptimizer to the list of eggs to install (under [buildout] -> eggs):

Tell the plone.recipe.zope2instance recipe to install a ZCML slug (under [instance] -> zcml):
Note: normally you put one line only (something like quintagroup.seoptimizer). In our case the product requires additional lines to be added here, which is mentioned in INSTALL.txt file within product.

Save changes in this file and re-run buildout with the following command in the terminal/command line (to open terminal go to WinSCP "Commands" tab -> select "Open Terminal"):
./bin/buildout
Restart the Zope server in ZMI or with the following command in the terminal:
./bin/instance restart
Step 2. Plone Installation
Finally, you have to activate this new product in Plone: install in with QuickInstaller:
- go to the Plone Site Setup -> Add/Remove Products
- select the product among products available for install and press the Install button.
