If you have a lot of images or photos and want to display them in the most appropriate way, creating photogallery in Plone is simple.
First of all create a folder where all the necessary images will be placed. To create a folder - click 'Add new...' drop-down menu and select 'Folder' from the menu list. Insert title and save it. Don't forget about the publication state of the folder. Change it by choosing 'Published' from the 'State' drop-down menu.

Next step is adding images. Go to the folder’s 'Add new…' drop-down menu and choose 'Image'.

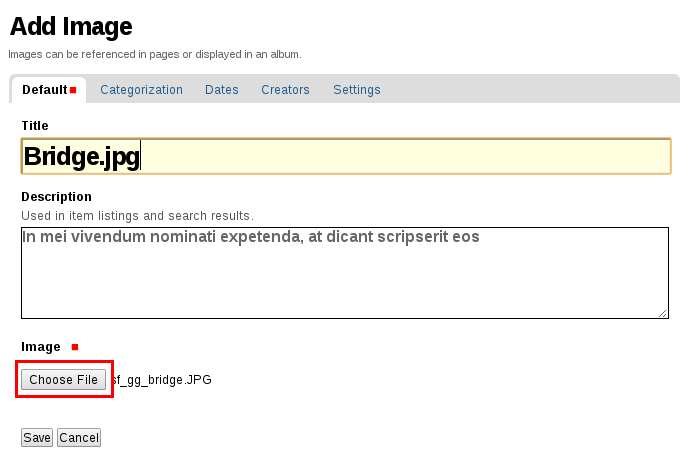
You can see form for adding new images. Only 'Choose File' field is required. Click on the button and choose the necessary image to upload from the local directory. 'Title' and 'Description' fields are optional, but it is useful to insert unique name and some description in order to differentiate your new images. Image’s ID will be created from title. If title is not specified, ID will be the same as a name of the uploaded image.

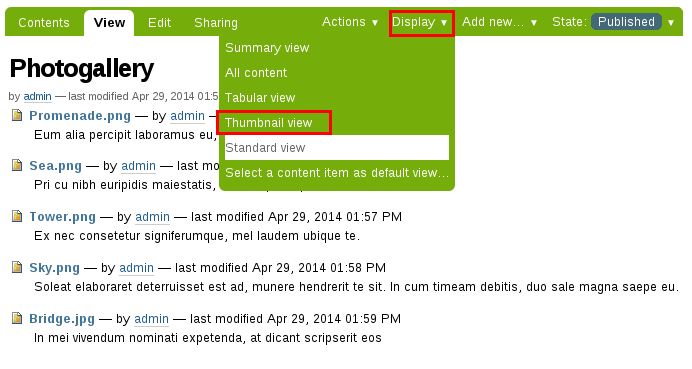
Add several images in the same way. Return to the folder and see the Display options available. Choose the 'Thumbnail view' from the 'Display' menu.

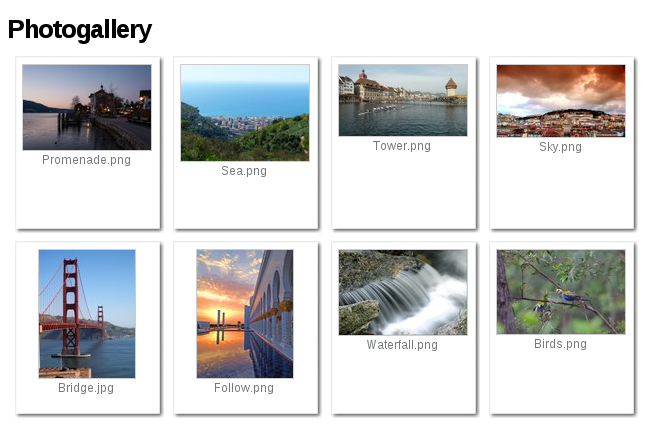
Images are displayed in the form of thumbnails with their titles beneath. Your own Plone photogallery is ready.

