When you order Plone Hosting Instance Package from all possible Zope Hosting Packages, you have a possibility to create new Plone sites.
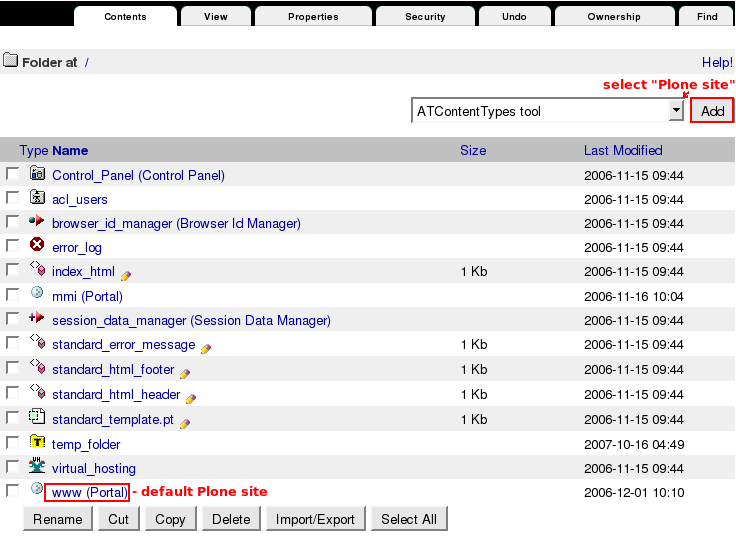
Login to your instance - http://username.quintagroup.com/manage with login name and password you get from Quintagroup Plone Hosting Account (personal customer area) in Instance folder. www (Portal) - is first Plone site created for you. Apart from this one, you can add more Plone sites - maximum number of which is ten.
So, to create a new Plone site, select Plone site form Add drop-down menu items.

In the opened window type new site id (let's call our new site www2). You can also put down new site Title and Description, but this information is not required. Now press Add Plone Site button.

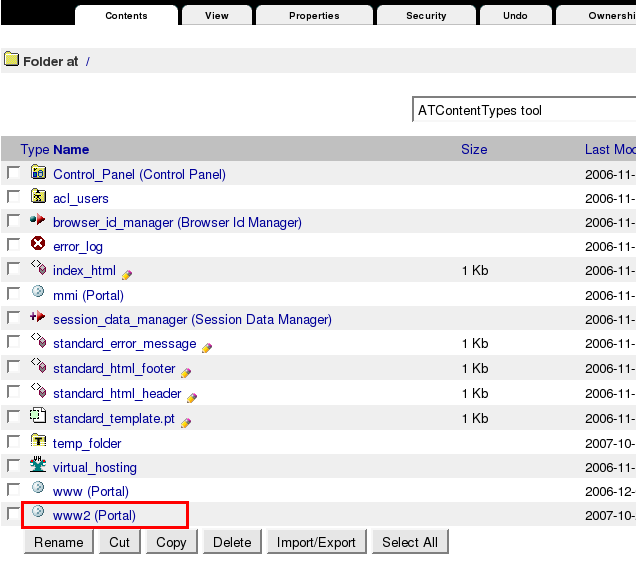
As a result, we have one more Plone site added - www2(Portal).

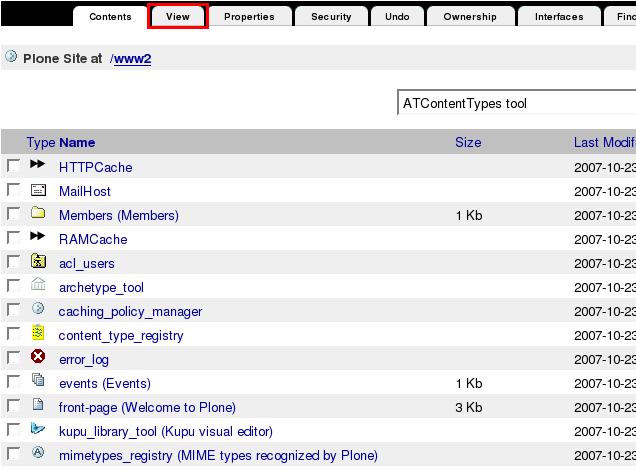
Click on it and you will see its contents. To work with this newly created site in a Plone interface chose View tab:

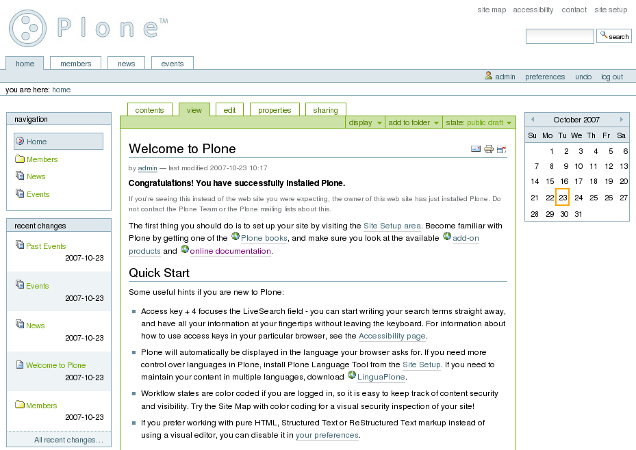
or in a new browser tab (window) type url: http://username.quintagroup.com/siteID (in our case http://username.quintagroup.com/www2):

That's it! New Plone site is at your disposal.
How to Map Your Plone Site on a Certain Domain Name
In case you want to map your Plone site on a certain domain name, do the following steps:
- Go to Quintagroup Tickets Support
- Put down your personal data: Customer ID (username, that you use at my.quintagroup.com), your e-mail address, give a title to your issue and describe what you want to be performed in details so that we could clearly understand the task
- Press Submit button
- As soon as Quintagroup accomplishes this task, we will contact you
